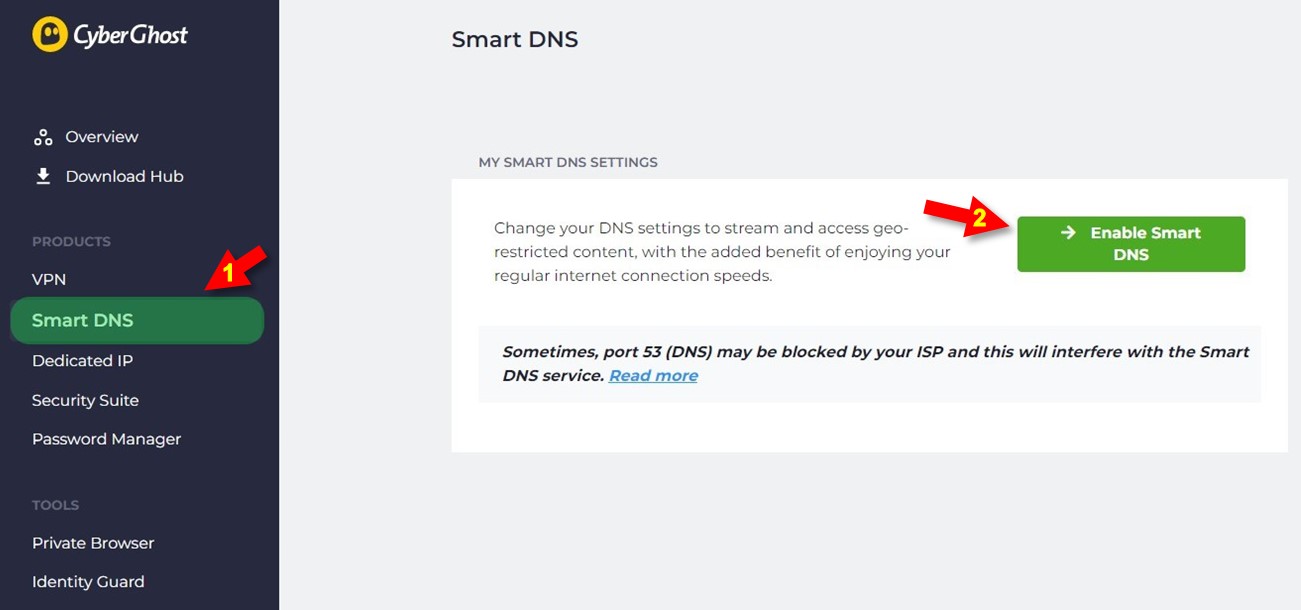
Through to the Account Dashboard - Smart DNS needs to be enabled.

It is advised to save your original DNS settings before making any other changes.
You may need them in case you will want to switch back to your original settings
or different settings based on your needs. Changing the DNS is done one-time.
Completing the only requirement as described above, now head over to your AppleTV 4. The below steps are presented for you which will help you apply the CyberGhost SmartDNS via AppleTV 4:
Step 1 of 6: From the home screen of your AppleTV 4 – choose Settings
Step 2 of 6: Choose Network
Step 3 of 6: Under Connection pick the Wi-Fi that is being used by your AppleTV 4 and select the Wi-Fi
Step 4 of 6: Opening Wi-Fi menu, scroll down to Configure DNS and pick Manual mode*
*Manual mode refers to settings that are made manually by yourself
Step 5 of 6: Continue with adding the DNS* within the DNS Address screen and confirm with Done
*The DNS provided to you within the Account Dashboard under the My Smart DNS tab
Step 6 of 6: Head to System menu within the Settings of your AppleTV 4 and choose Restart
-------
For any additional information or concerns - it is best to approach the Support Department:
via e-mail: support@cyberghost.ro
via on-line request: https://support.cyberghostvpn.com/hc/en-us/requests/new
via 24/7 Live! Chat Sessions on our website
Comments
0 comments
Article is closed for comments.